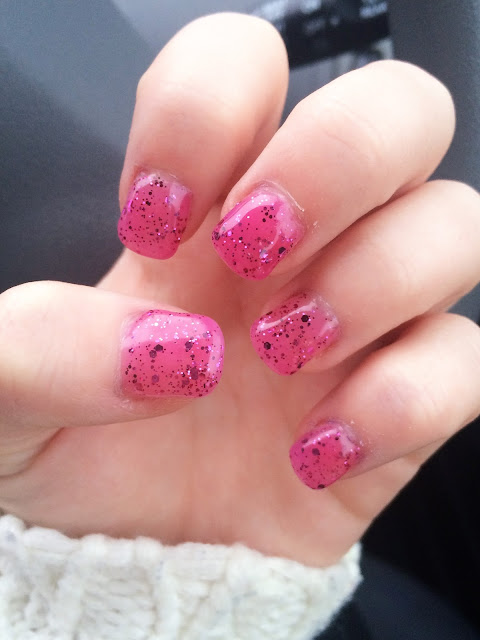
I am qualified in doing gel nail extensions and I have been questioned a few times on how I do them. So, today's post is on how to do your very own gel nail extensions. You will obviously need your very own UV/LED lamp, gels and simple nail tools. I created pink sparkly nails. I love both pink and sparkles so why not combine them!?
1. Start by pushing down and trimming your cuticles. Then, file your natural nails just to give them a simple shape and clean up.
2. Measure the tips against your natural nails to make sure they're the same size. The curve on the tip needs to measure against the top of your natural nail. Make sure the tip is wide enough for your nail. E.g if the sides of the tip are overlapping onto your skin, you'll need a smaller sized tip. File the sides of the tip if you're in between sizes.
3. Once measuring all of the nails, put the tips aside and buff the natural nails to remove the natural shine.
4. Apply nail glue along the bottom of the tip and press firmly on to the nail, measuring the curve on the tip with the top of your natural nail. There should be a gap between the cuticle and the bottom of the tip.
5. Once all of the tips are stuck on, use the nail tip cutters to cut the extensions. Cut to the length required.
6. File your nail extensions to the shape you would like. Then blend in the bottom of the tip with your natural nail by using a curved nail file to get rid of that 'ridge'.
7. Next, apply some building gel to make your extensions harder and stronger. This makes them less breakable. Cure them under a UV/LED lamp depending on which brand gel you're using. Also, based on the brand of gel you're using, check the cure time - it may take from 30 seconds to 3 minutes.
8. After your building gel has cured, wipe your nails over with finishing wipe to remove the excess gel.
9. Buff over the nails and apply your gel colour. Again, depending on the brand of gel you're using check how many coats you'll need to apply, this should be on the bottle. After curing however many coats of the gel, always use finishing wipe.
10. Then, apply your top coat to add extra shine to your nails, cure, go over with the finishing wipe and your gorgeous nails are complete!
What I Used:


I'm also qualified to do this but I haven't done it in so long! I usually just do gel nails :) these look super pretty though! Nice work :) xx
ReplyDeleteThank you and I'd love to see some of the nails you've done! xx
Delete